You’ve undoubtedly learned how to preserve food at some time in your homemaking path, even if you’re a chef, housewife, or full-fledged homesteader.
For several individuals, pressurized water bath preserving is the entry point to all other food preservation processes.
Although that necessitates additional cooking equipment a than canning jar fermentation or oven dehydration, there is something immensely gratifying about canning a batch of tomatoes, jellies, pickles, or chilies.
Perhaps it alludes to the off-grid aspirations of becoming a self-sufficient highland mama (or mountain man).
Perhaps that’s since the distinctive pop of the lid gives us a feeling of achievement and delight, or perhaps it’s even though we decide to give a few of those containers away as presents, which gives us even more joy.
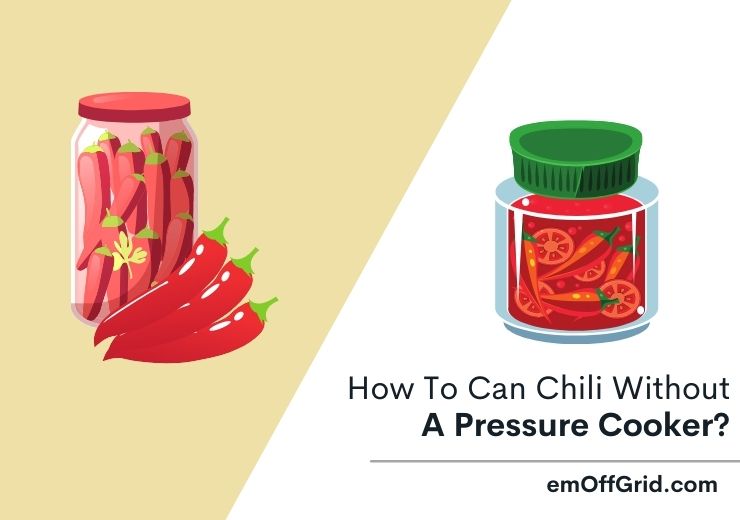
For such reasons, we will share this article with you and this article will bring you all about how to can chili without a pressure cooker, so read it and learn it.
Contents
- Benefits Of Canning Food
- Is It Safe To Can Chili Without A Pressure Cooker?
- Preparation for Canning
- 11 Steps To Can Chili Without A Pressure Cooker
- Prepare The Recipe
- Prepare Materials And Tools
- Sort Out The Bad Chilies
- Sterilize Lids And Jars
- Filling A Large Mouth Funnel With Preserving Ingredients
- Clean The Rims Of The Jars
- Releasing Air Bubbles
- Put The Lid On The Jar And Seal
- Processing Of Heat
- Allow Your Jars To Chill For 24 Hours
- Storage Of Chili Recipes
- Signs You Should Remove The Can Chili
- Some Tips
- Conclusion
Benefits Of Canning Food

Canned foods are convenient, cost-effective, and make excellent handmade presents.
To can any foods at home, you just need a few simple tools you may have on board.
And if it is not, I suggest that you choose the opening in a separate window option.
This reasonably priced preserving kit comes with everything you’ll have to preserve your own high-acid meals at leisure.
You’ll also want some preserving containers, which are available in a variety of sizes.
When it comes to canning, I like to open in a fresh window quart (big) and start in a fresh window pint (standard– the size I use the most).
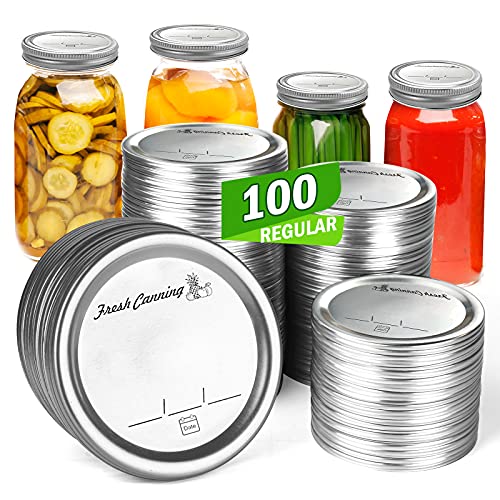
Regular Mouth Canning Lids for Ball, Kerr Jars
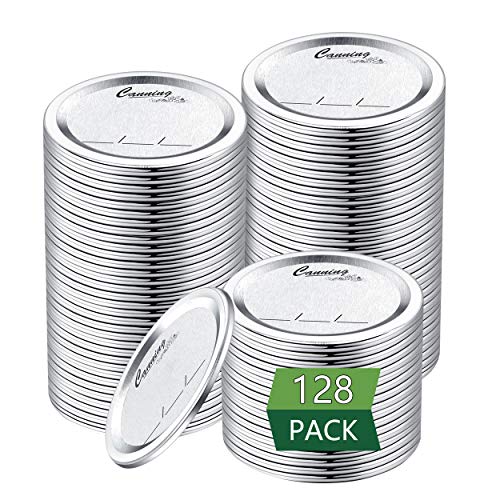
- [NO LEAKAGE] Super sealing ensures airtightness and prevents leakage providing a hassle-free storage solution.
- [UNIVERSAL SIZE] The 2.76” diameter of these lids makes them ideal for all regular mouth mason jars including Ball and Kerr branded jars.
- [SAFE] High-quality, food-grade with BPA Free Silicone seals ensure there are no harmful materials being introduced to your storage items.
If you’re recycling jars, you’ll need some new canning lids, which are available in both normal and largemouth varieties– the tops can just be utilized once properly.
In the most fundamental form, preserving is a method of food preservation by preventing contamination.
Since medieval times, elevated pies with thick, robust crusts were employed to preserve the cooked contents.
Humankind techniques for preventing food spoiling have evolved significantly.
Preserving has become the preferred method for prolonging food shelf life when French scientist Louis Pasteur published his understanding of microbes and their influence on foodstuff in 1861.
Is It Safe To Can Chili Without A Pressure Cooker?
A pressurized canner is the only safe technique to do anything with a sour flavor, which comprises all veggies and meat.
Whenever you do not possess a pressurized canner, you can freeze your homemade mixes instead.
At 10 pounds pressure, process pints for 75 minutes and quarts for 90 minutes.
Preparation for Canning
Hit The Marking
The length of time your food must be heat-processed to kill harmful microorganisms is determined by two factors: The nature of the recipe (acidification degree, thickness, etc.) and the container capacity.
Sterilization requires anywhere from ten minutes to nearly an hour, depending on whether you use a pressure canner or a boiling-water bath.
Determining the correct time consumption is crucial and necessitates a thorough understanding of food composition.
Bernardin’s cooking books are one of our favorites (the manufacturers of the Containers).
Boiling Water Container
Preserving pots include a canning rack and are tall and broad enough to accommodate multiple jars at once.
They’re essential for traditionally acidic foodstuffs like peppers, as well as recipes that call for tomato sauce, lemon juice, or lime juice, such as salsa, pickles, or various fruit preserves.
They range in price from $35 to $180 and are a smart investment if one anticipates preserving frequently.
They are available in various sizes, ranging from 11-12 pints to 23 quarts and counting.
Canner of Pressure
This equipment is made to properly can low-acid meals, including vegetables, meat, stew, and mashed potatoes and stock.
The boiling temperature of freshwater is raised to 240°F (116°C) by the pressure, which is crucial:
The germs that produce botulism are destroyed to this degree.
Pressure distillers range in price from $130 to $250 and should not be mistaken with pressure cookers.
While certain pressure cookers may be used for heating and preserving, that isn’t often the situation.
11 Steps To Can Chili Without A Pressure Cooker

Are you planning on preserving this season? Start with fruit if you’ve never canned before.
Fruits and other high-acid items could be properly preserved in hot liquid baths. To manage the workflow, apply these 11 steps.
Prepare The Recipe
Whenever you utilize a decent preserving chili recipe and several fundamental preserving hygiene precautions, preserving your own chili is simple and healthy.
On a chilly winter night, you may have a quick heat and eat supper ready in minutes.
- Jalapeno
- Coriander-Ground
- Chili Pepper Seeds
- Cumin Seeds
- Chili Powder
- Canned Tomatoes w/Juice
- Green Peppers
- Dried Oregano
- Salt
- Garlic
- Cumin Powder
- Onions
- Ground Beef
Prepare Materials And Tools
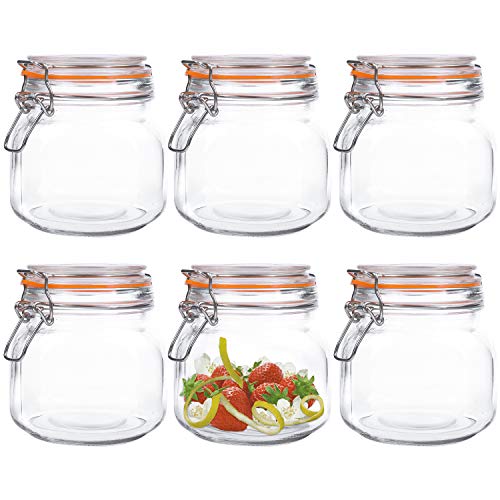
Make sure the jars you’re using were designed for preservation.
Please don’t attempt to reuse leftover jars of spaghetti sauce, jellies, or even other glass-jarred items.
Kerr or Balls containers with rubber ringed lids and screwed top rings are my favorites. These jars, lids, and rings may be found at most grocery shops.
Check the jars for cuts or nicks (if using old jars) as well as your lids to verify the rubber is in excellent shape with no cuts or missing parts.
I had no clue what a quart jar, a pint jar, or a half-pint jar looked like when I first started.
This snapshot was incredibly useful in sorting through all of the used jars in my pantry.
There have been two types of containers: broad opening and normal opening. Jars with a wide mouth have a wider aperture than normal jars.
This has no bearing on your preserving, except that broad opening jars are sometimes easier to pour into if you’re sloppy like me.
Kingrol 6 Pack 25 Ounces Square Glass Jars
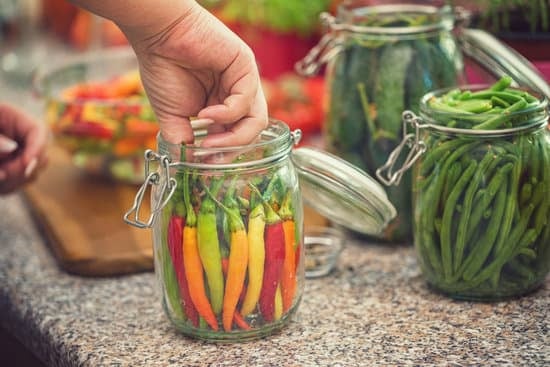
Sort Out The Bad Chilies
Wear protective covers while handling your chilies and wash your hands after touching them barehanded since the oil from the chilies might irritate your eyes and skin.
Discard any chilies that are limp, stained, or soft.
The greatest pickled chilies are made using crisp, hard, fresh peppers.
Sterilize Lids And Jars
Begin with hot, clean containers.
It’s pointless to sterilize them before filling them. This is since the last heat-processing procedure, once they’ve been loaded and capped, sterilizes both the foodstuff as well as the container.
Jars may be cleaned in the dishwasher and kept warm until you’re set to load them.
Examine each jar thoroughly.
Prevent those with damaged rims or rims that aren’t entirely intact because this will hinder the lid from closing properly.
Rinse the jars completely after washing them in warm, soapy water. After that, place them upright in the canning pot you’ll be using.
Fill the jars with boiling water, as well as the pot. Warm on the stovetop over medium heat until it’s just about to boil.
Turn off the heat and leave the containers in warm water till prepared to use.
(Note: Adding warm foodstuff or liquids to a cold jar might cause it to shatter, a process known as heat shocks.)
This is why it’s important to fill jars while they’re still hot.
Filling A Large Mouth Funnel With Preserving Ingredients
The base of a largemouth funnel has a wider aperture.
This permits chunky salsas, jellies, preserves, and anything else chunky you’re canning to pass through.
The base of a conventional funnel is quite small—a word of advice from someone who is mastered in it.
You’ll devote considerable time trying to clean up the jars then filling them if you get a Wide Mouth Funnel.
Filling jars with a funnel is easy and simple. And it’s a lot less clumsy.
Clean The Rims Of The Jars
Rinse the jars after washing them in hot soapy water. Alternatively, clean the jars using antibacterial wipes before rinsing.
Above everything, make sure that any mold, mostly on the jar’s rim, is removed while opening it to prevent it from coming into contact with the foodstuff.
Releasing Air Bubbles
Move a metal, wooden, or plastic tool all along the jar’s interior to remove air bubbles that may have become trapped beneath the food.
Metal tools, such as knives, should be avoided since they can damage and fracture the glass.
Re-adjust the headspace after any trapped air bubbles have been released (if required).
Put The Lid On The Jar And Seal
Ensure you are prepared to clean the jars’ rims with a warm, moist cloth as you go.
Some material on the lid might prevent it from closing correctly.
Put a flat cap over the container’s entrance and secure it with a metal ring.
Only tighten the ring to the level of restriction, then twist a ninth turn or so further.
The content of the jar may seep out during processing if the ring is not tightened enough.
If it’s too firm, the gas throughout the hole won’t be accessible to leave, which is important for making a vacuum seal.
Processing Of Heat
The method will change depending on the acidity of the dish.
Naturally acidic foodstuffs (pH less than 4.6) or dishes using lemon juice, vinegar, or lime juice should be cooked in a hot water bath.
In the very same saucepan that was used to heat the containers, place them upright in the canning rack.
As needed, add water: At least 1 inch of space should be left between the jars (2.5 cm).
Bring to the boil over high temperature, covered with a lid.
Whenever the liquid is at a full boil, start timing.
Keep rolling boils for the duration of the recipe’s process time.
Allow Your Jars To Chill For 24 Hours
After taking the jars from the saucepan or pressure canner, place them on a counter lined with two dishtowels to minimize extreme temperatures between hot containers and the cool surfaces.
Even if the rings have grown loose, do not tighten them.
Because the sealing compound is still soft, moving them now might dislodge the lid and break the vacuum seal.
Allow for a 24-hour cooling period. You’ll hear a pop every time a container is sealed.
When a lid is pushed downwards by the pressure difference as the container starts to cool, it makes a buzzing noise.
Check to see that almost all of the containers are properly closed.
When squeezed in the center, the lid should be bent downward and not bounce up or down.
Are you unsure? Remove the metal ring and raise the jar by grasping the lid’s edge. It won’t move if it’s securely sealed.
Storage Of Chili Recipes
Maintain the jars in a moderate, dry location where they may be safely stored as long as they are unbroken and sealed.
As the item ages, it will vary in appearance, shape, and taste. Therefore it’s best to eat it in a year.
Signs You Should Remove The Can Chili

- The Can Lid Is Bulging
- Cans Showing Signs Of Rust
- Cans Showing Signs Of Leaking Liquid
- Volcano Action
- Can Have A Bad Smell
- Bubbles Appear
- Discoloration Of Food
- Mold Growth
- Loud Hissing Sound When Opening The Lid
Some Tips

- Thoroughly clean preserving containers in hot, soapy water prior to packing them, then sterilize them in a pot of water for 10 minutes or put them through the dishwasher.
- Before canning, wash the lids and rings with hot soapy water. While rings can be reused, lids should never be reused since they can pollute your meal. Reused lids frequently fail to reseal, and this might go unnoticed during and after canning.
- Constantly use clean hands and clean instruments when handling food.
- Bring the meal to a low boil before ladling it into sterilized jars.
- Keep the meals out of bright sunlight and away from freezing temps.
- Temperatures around 40 and 60 degrees Fahrenheit are ideal for storing them. The longer they keep, the lower the temperature must be – unless they are subjected to freezing temperatures, in which case your jars may shatter. Keep your jars off the ground as much as possible to avoid exposure to temperature extremes or moisture, and rotate them as often as feasible.
- Never eat homemade tinned meals that have mold developing in the jars, a strange odor, or a bulging lid.
Conclusion
Thermal shock can occur when there are large temperature changes, which can cause jars to crack.
Never put a boiling recipe in a cold jar or a hot jar on a cold counter! Using the oven to heat jars might potentially cause them to break.
It’s also a good idea to use a rack to keep containers from crushing against the pot’s base throughout the heat treatment.
There’s really no reason why the jelly you canned two to three years ago isn’t already healthy to consume (and possibly very wonderful, as I’ve personally experienced).
Before using, check your canned products like you would any other food, and trust your senses if the smell or look appears wrong.
Some individuals noticed that the lid seals may break after a year.
That’s why you must detach the band (canning rings) from processing jars before storing them since this will allow you to see whether any of the lids fall off during storage.
Since May 2017, all Ball (and Kerr) jars have come with Sure-Tight lids, which have an 18-month shelf life.
Mason Canning Jar Lids for Ball, Kerr
- SUPER VALUE MASON CANNING JAR LIDS - We manually selected this 100-piece value package for you, which is enough to meet your daily life and replacement. You can share it with your family or friends.Regular mouth Lid is 7cm/2.75in, compatible with most ordinary regular mouth mason jars.
- FOOD GRADE METAL LIDS - Our canning jar lids are constructed from premium tinplate with BPA Free silicone seals.It ensures durability and reliability, is not easy to rust, can withstand high and low temperatures, and can be used in refrigerators, microwaves and dishwashers. For your health and better storage of food, the lid is for single use only.
- STRONG SEALING PERFORMANCE - Our canning jar lids contain silicone ring makes the mason canning jar lids have good sealing performance, air tight and leak free, airtight effect ensures. No need to worry about leakage that may contaminate the kitchen or other places after sealing materials.
Remember that the lids should remain sealed for 18 months, although the food’s “expiry date” will probably be lengthier.