Can you make soap at home without lye? Is lye such a crucial ingredient in a soap-making recipe that there is no workaround? Yes. You can make soap without having to handle lye.
Lye is a crucial ingredient in the soap-making process. It is what reduces fat to make soap. Without it, there can never be any soap.
So, how can you make soap without handling this chemical? Continue reading to find out the 6 easy steps to make olive oil soap without lye!
Contents
Can You Make Soap Without Lye?
Yes and no. Lye (sodium hydroxide or potassium hydroxide) is an essential ingredient in soap making.
Without it, there is no way you can make any soap. This chemical reacts with fats through a saponification process to form soap.
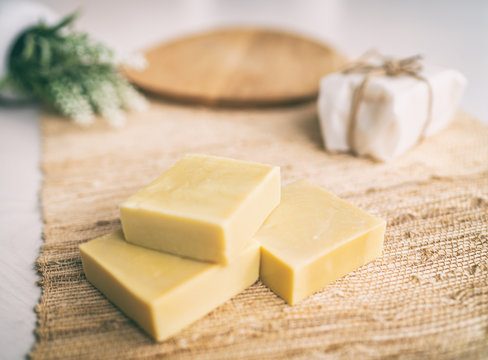
Making soap from scratch requires that you handle lye. But if you don’t want to interact with it, you can make your soap from soap bases.
These are half-baked soaps where the lye part has been handled for you, and all you need to do is add your preferred additives for custom-made soap.
Lye is a concentrated solution that can cause severe burns to the skin, eyes, lungs, and digestive system.
It can result in permanent damage or even death in some cases. That is why some people are not comfortable handling it.
Making soap from scratch will require that you handle lye. However, some people don’t want to store the chemical in their homes. Of course, safety is first, especially where kids are involved.
But if you want to make an all-natural soap, you don’t have to worry about lye. This chemical will not be present in the final product if you use the right recipe and follow all the steps.
It is all used up in the process of making soap. So, your product will be as natural as it sounds.
How To Make Olive Oil Soap Without Lye?
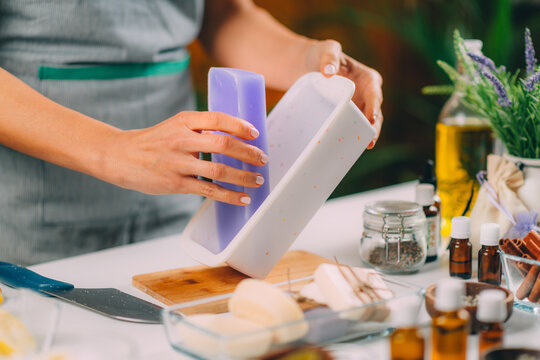
Making soap without lye is easy because the riskier steps have been handled. The rest are easy and safe to handle, even with kids.
You begin from a soap base and customize it with additives of your choice for preferred color and scent.
You can make olive oil soap without handling lye in size steps. This method is called melt and pour, as we will explain here.
Olive Oil Soap Recipe: Things You Will Need
The soap-making success depends on the materials, tools, equipment, and ingredients. You can make any type of soap you want. But in this guide, we will categorically outline the steps of making olive oil soap.
Assemble the following:
- Soap base (unscented)
- Olive oil and other additives
- Pot or double boiler
- A wooden spoon
- A bowl
- Heat source
- Measuring cups and spoons
- Non-serrated knife and cutting board or grater for cutting your soap base
- Silicone spatulas or spoons for stirring
- Soap mold (depends on your choice)
The soap base you buy for this process depends on your preference. But since you are making an olive oil soap, unscented is preferred. You can buy these from Amazon or a craft store.
6 Steps To Make Olive Oil Soap Without Lye
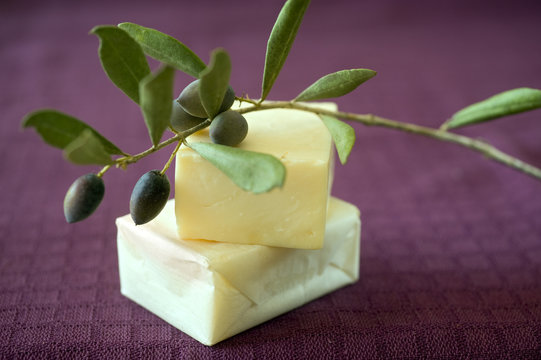
You should now get down to the real business if you have everything ready. Your soap will be made in the following six steps:
Step 1: Grate Unscented
Grate about 8 ounces of the unscented soap base. You can grate as many as you can, but it is better to start with a small test if it is your first time. A cheese grater or a food processor works well for grating.
But if you don’t have a grater, you can also use a knife and a chopping board. Cut the soap base into small cubes of about 1 inch in size. That is to quicken the melting process, as we will see in the next step.
Step 2: Melt Soap
A double boiler is preferred for melting the grated soap base because only mild heat gets to the soap. But you can also use a regular pot though you should continuously stir it to avoid burning the soap.
Other alternatives for melting the soap base are microwave or a mason jar. If you opt for a microwave, put it to the lowest heat settings.
In the other method, put the grated pieces into a mason jar and heat over a pan on low heat.
Regardless of the approach, heat the soap base pieces until they melt. The time it takes depends on the sizes and methods used.
Step 3: Add Olive Oil, Color, And Other Additives
This is where the fun is and what most DIY soap makers enjoy the most. This is the step where you add your colorants and scents according to your taste.
Start with half a teaspoonful of olive oil and each additive for one pound of soap base. You can then increase it gradually to your satisfaction. Do this in the bowl and increase the quantity as necessary.
What other additives can you add to your custom-made soap? Apart from olive oil, which is our primary ingredient, you can also consider the following:
- Oatmeal
- Honey
- Dried herbs
- Dried flower petals
- Fragrance or essential oil
- Soap dyes, food coloring, natural colorants
If using herbs, grind them into fine powder for a fine texture. It also makes your final product feel smooth on the skin.
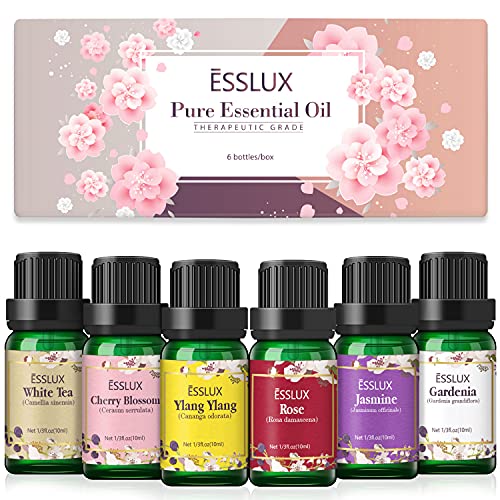
Essential Oil for Diffuser, Massage, Soap Candle Making
- This ESSLUX floral collection is carefully designed for those who love flower scents; it includes 5 floral oils and an exceptional white tea essential oil, which will provide a compelling experience with charming floral scents, perfect for home aromatherapy
- Uses; these natural and pure essential oils can be added in a diffuser or humidifier, to create an inviting and cozy space, like living room, yoga, office, and car; you can also use them for massage, spa, skin and hair care, home cleaning and air freshening
- Homemade Scented Products; with distinct floral aromas, these aromatherapy essential oils can also be used to make scented candles, soaps, bath bombs, body butter, or your very own natural essential oil perfume sprays; besides, they are a good partner for other aromatherapy diffuser oils to make essential oils blend
Step 4: Mix Thoroughly And Pour Into Your Mold
Stir the molten soap base and additives mixture thoroughly until everything looks even.
Pour the resulting product into your molds to shape the soap. Once again, the mold you use depends on your preference. You can buy what you like from Amazon or custom-made some at home.
Step 5: Allow To Cool For Several Hours Before Unmolding
After transferring your soap into the molds, you can choose to insulate them or not. Insulated soap appears darker with a more transparent top.
An uninsulated soap will have a lighter soap with an opaque finish.
You can insulate your soap by covering and wrapping it in a towel. Once done, let the soap cool for 2 days.
We know that is a long wait for first-timers, but you should be patient not to ruin what you have labored to make.
Step 6: Remove The Soap Bars From The Mold
After two days, your soap is cooled and ready for use. Remove the mold and give it the first test. We recommend doing it with a rug to verify if it is effective.
4 Facts About Soap That We Didn’t Know
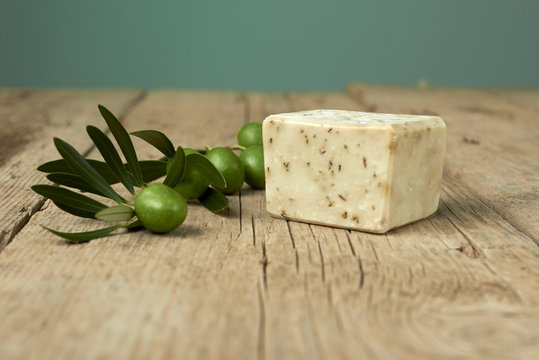
Now that you have made soap, do you mind knowing a few facts about it? We briefly discuss soap in the following sections:
History
The history of soap is clouded with myths and misconceptions. There is no clear information on how it was first discovered, with many believing it all happened by accident.
Discovering soap dates thousands of years ago. Accidentally, oil from a cooking pot fell on an ash puddle underneath.
The new substance puzzled the cook, who started recreating it again. Since then, scientists have perfected it into what we know today as highly effective and fragrant soaps.
Name
Soap got its name from another theory that explains how it was discovered. It was an ancient Roman legend of Mount Sapo who named it.
In this theory, the rain washed down animal fat and ashes down the mountain that would form a mixture at the base of Mount Sapo. The resulting substance made cleaning easier.
Ingredients
Soap making requires two main ingredients, which are fat and lye. Animal fat or plant oil can do, and lye is concentrated sodium hydroxide or potassium hydroxide. You also need water to dilute the lye.
Development process
The soap-making process involves a chemical reaction between fat and lye through saponification. The result is an all-natural material with a grease cleaning effect.
Athena • Greek Olive Oil For Soap Making
- For Making Olive Oil Soap. A Neutral and Refined Oil, Athena Greek Olive Oil From Greece is 100% Natural and extra light and mild, a perfect choice for Soapers or artisan soap makers
- Athena Bulk Olive Oil Can is a full 1 Gallon and has many uses including soap making, cooking, stir fry oil, as a lubricant, skin care, for hair, making cosmetics
- Food Grade and Safety Sealed for Freshness
FAQs
Who Discovered Soap?
The first soap was invented by Babylonians around 2800 B.C. They discovered that mixing animal fat with ash could create a new substance that made cleaning easier. The first soap was used to wash wool in the textile industry.
Can you use baking soda instead of lye to make soap?
Yes. Sodium bicarbonate (baking soda) can be used instead of lye when making organic homemade soap. However, this product influences the lathering process. So, you won’t get a soft concoction needed to enjoy laundry. In other words, the cleaning effect of soap is reduced.
Is lye a natural product?
No. The lye (sodium hydroxide or potassium hydroxide) is a chemical. However, you don’t have to worry about it because it is not in the soap. It is all used up during the saponification process. The final product is natural.
Can I make soap and sell it?
Yes. If you have all the essential tools needed in the soap-making process, you can start your own company to make soap and sell it.
Some Thoughts
You cannot make soap from scratch without the lye, but you can skip handling it using the melt and pour method.
In this method, you start from a soap base and add the additives and colorants according to your preference. It is still fun, but you miss basic steps in the soap-making process.
Thank you for reading this article about soap-making without lye at Em Offgrid. We hope you found it informational. And if so, we invite you to share it and explore the site for related content.
