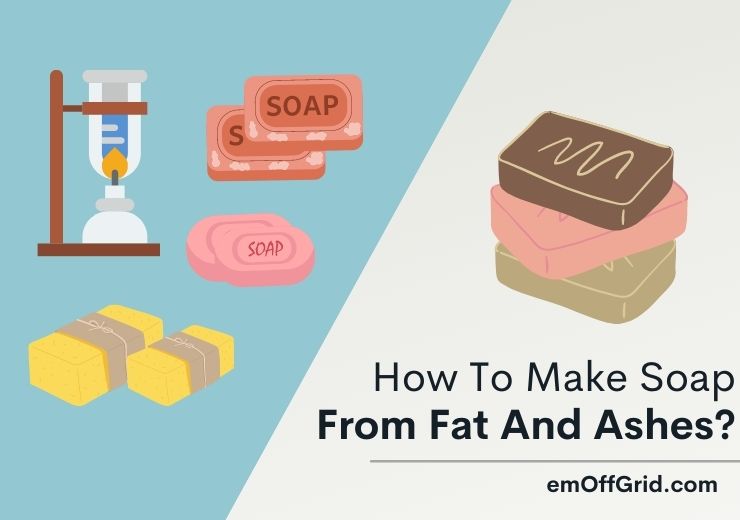
Laundry does not stop because you moved off the grid. You still need to do regular cleaning using soap and other detergents. That is why we have prepared these eight steps to make soap from fat and ashes.
Making your own soap will save you time and money if you had to buy it from a shop.
Making soaps from fats and wood ashes is not an overly complicated process.
In fact, it is a DIY process that you can complete at home if you have all the requirements. Keep reading to learn more about soap-making at home.
Contents
What You’ll Need To Make Soap
The success of any DIY project depends on the materials and tools you have. Gathering all the requirements for making soap from fat and ashes will make it easier than you thought.
As part of the preparation to take on this task, ensure you have the following:
Materials and Tools to Make Soap
- Wood Ash – Use wood ash from hardwood trees such as maple, hickory, and oak. Hardwoods produce white ash for the best lye.
- Water – Soft rainwater or distilled water is preferred for soap making at home. Hard water from the kitchen faucet has minerals that will compromise the quality of your soap.
- Salt – Salt is added at the end of the soap-making process to harden the soap into a solid. Kosher salt is preferred for this process.
- Fragrance – Soaps for bathing and laundry often have fragrances. You can choose mint, chamomile, lavender, vanilla, orange, lemon, or any other preferred scent.
- Fat – Lard fat is preferred, but beef tallow and vegetable oils can also be used. Choose from the readily available fat because there is a long list of them.
- Ash Shifting Tools – Chicken wore, screens, or colander can suffice.
- A 5-Gallon Bucket or flower pot with a hole the size of your thumb at the bottom.
- 2-Quarts of Pea Gravel and an appropriate amount of straw, white pine needle, or hay.
- Shovels of different sizes.
- 3 Large Stainless-Steel Pots – big enough to hold about 12 quarts.
- A Measuring Cup – preferably made of Pyrex glass.
- A Wooden Stirring Spoon
- pH Testing Strip – available at the pharmacies. Alternatively, you can use an egg to determine a pH of 13. This occurs when the egg floats on water.
- Vinegar – Necessary for neutralizing lye spills.
- Heat source – Gas, open fire, or charcoal.
- Molds– for shaping your soap
- Packaging material – Plastic bags, parchment paper, containers with tight leads, etc.
Safety Equipment for Making Soap
Some of the safety equipment you need when making soap at home include eye protection, hand gloves, and boots. You need these because soap-making is a hazardous process that involves chemicals.
Lye used for making soap is sodium hydroxide or potassium hydroxide. These are very alkaline solutions with a pH value of 13.
Like acidic solutions, alkaline solutions are also dangerous. When they spill on your skin, they will interact with the natural oil, causing skin damage.
Protective eyewear and rubber gloves are essentials you should have. Also, do not start a soap-making process if you do not have vinegar for neutralizing the effect of lye spills.
8 Steps to Make Soap From Fat and Ashes
Make Lye Water From Ashes
Use any of the following methods to make lye:
Method #1 With Soft Water
Burn the hardwood to make white ash. Assess the quality of your ash and proceed to sift if you are satisfied.
This should help you remove any charred wood remains from the ash. The finer the screening tool is, the higher the quality of the wood ash you will get.
Get the appropriate quantity of ash for the soap you want to make. Ten cups of white ash produce one gallon of lye water.
When reduced to a pH of 13, you end up with six ounces of lye water. This is enough for making two standard-size bars of soap.
Method #2 Build A Leaching Barrel
- Place a five-gallon bucket or pot with a hole at the center on top of a stainless-steel pot. The two should be tightly fit and well-supported.
- Insert a straw in the hole and pour gravel on top. The straw offers the pathway for lye water to move through the stainless-steel pot.
- Add a layer of straw, hay, or white pine needles over the gravel in the bucket. Do this while compressing until you achieve about three inches in thickness.
- If you want to make two bars of soap, pour ten cups of ash on top. Ensure you still have room in your gallon for slow adding of water in the next step.
- Boil 1.5 gallons of water in another pot. Pour this boiled water on top of the ash in the bucket until one inch deep. This is the complete setup for a bleaching barrel.
- Let the setup rest for 30 minutes to allow water to drain through to the stainless-steel pot below. Repeat water boiling and pouring on the ash steps until no more water drains to the pot below the barrel.
- You have about one gallon of lye water in the stainless-steel pot.
Heat the Lye Water to Concentrate It
The next step is to concentrate the lye water until it reaches a pH of 13. This is done by heating it over medium heat.
Use the same pot you used for trapping lye water or transfer it to another stainless-steel pot, which should be a two-gallon pot.
Concentrating lye water is best done outdoors. Continue heating and use a pH strip or raw egg to determine the pH value.
A raw egg floats on a solution with a pH of 13. Stop heating at this point. Your lye concentrate should be about six ounces. Continue heating if otherwise.
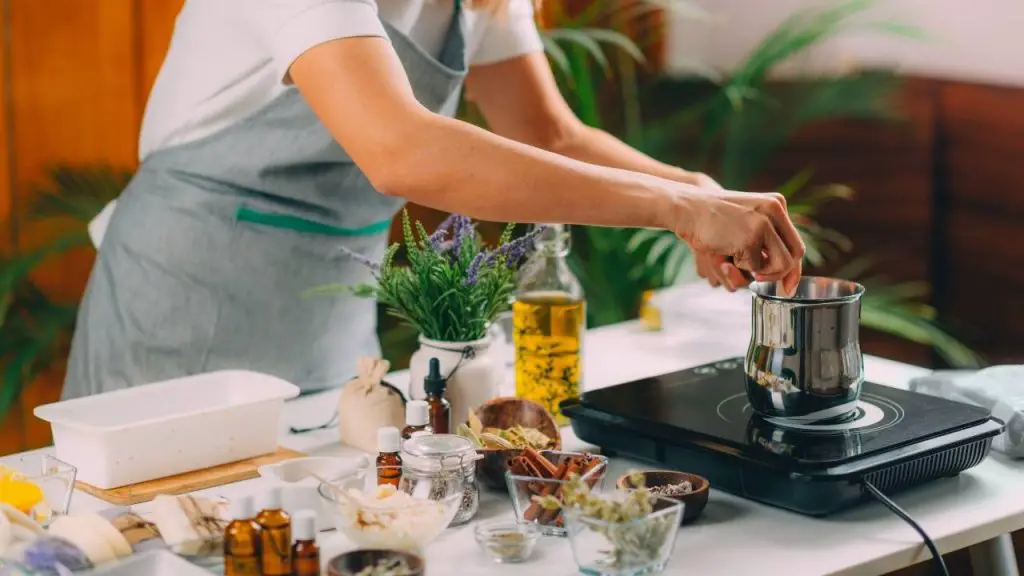
Heating Fat
Put fat or oil in another stainless-steel pot and heat over medium to low heat until it becomes hot.
Add Fat – Then Mix the Lye And Fat (or Oil)
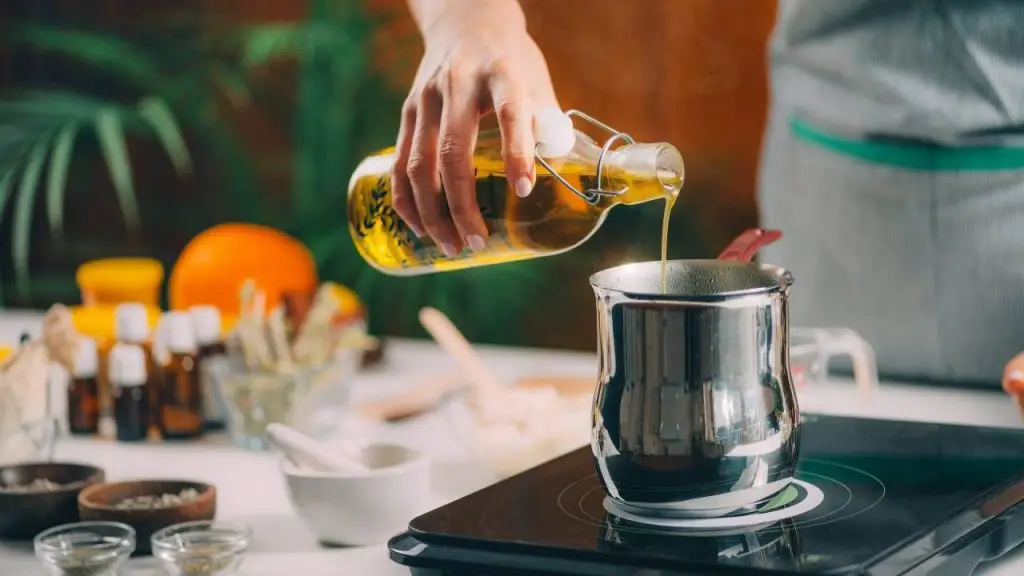
For two bars of soap, you need one cup of fat. Warm ¾ cup of concentrated lye in a small stainless-steel saucepan or pot and slowly add fat as you continuously stir the mixture.
You need a larger pot and more ingredients for more soaps. So, make sure you scale up as appropriate.
Add ¼ teaspoonful of salt to the mixture as you stir and heat for the next three minutes. You should have a thick paste with no solid chunks.
Reduce the heat and maintain a temperature of about 100 degrees Fahrenheit. Continue stirring for another minute, and it settles for the next ten minutes.
Repeat heating and stirring every ten minutes until the paste in the pan turns to a golden brown.
Do not be worried if your soap butter does not turn golden brown as the color depends on the fat used and the purity of wood ash. This usually takes hours.
Draw a line on the soap and butter to determine if you are ready. If you can see the line, then you are done with the soap making.
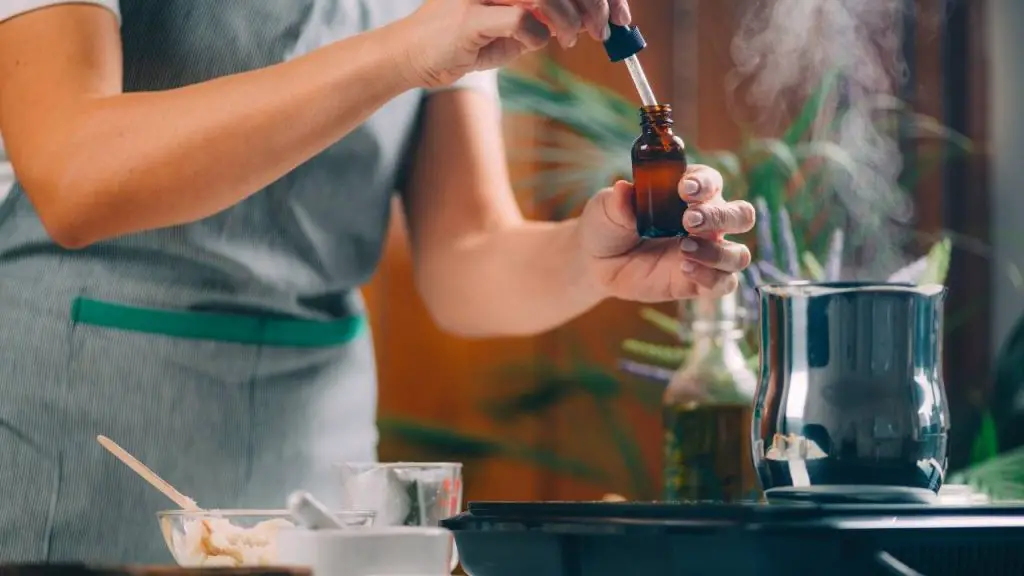
Add Desired Dried Herbs, Exfoliants, Or Essential Oils
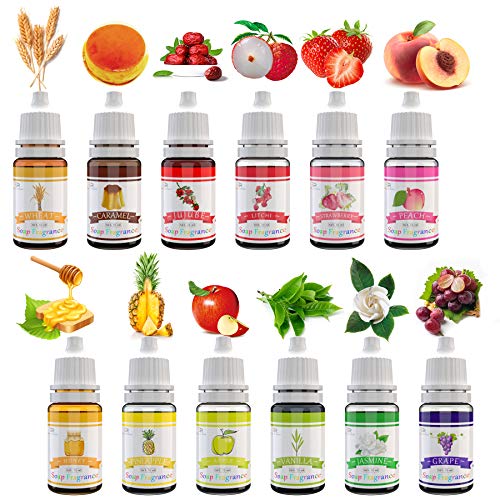
- ATTRACTIVE SCENTS - Comes with 12 different, very concentrated aromas, personalize any of your unscented soaps, bath bombs. Use your imagination to create a scent that is simply yours.
- A LITTLE GOES A LONG WAY - Highly concentrated soap making fragrance oil, just a few drops and you will be shocked by these scents. Test our perfumes in finished products, because the smell will be thick before it is diluted.
- WIDELY USED - The soap essential oil for making bath products are also great for DIY slime and cosmetics, air fresheners. And it can be added to your favorite body lotion, massage oil or bath oil.
Mix your desired fragrance with the ready soap butter. You can do this in the molds or in the saucepan, but you can do it on the molds to try out different scents.
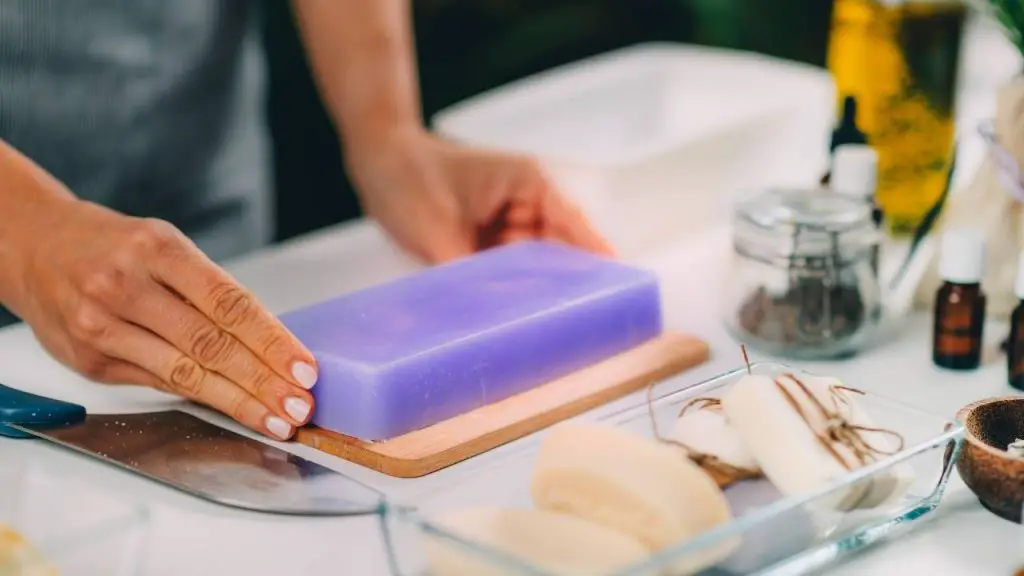
Pouring the Soap Into a Mold
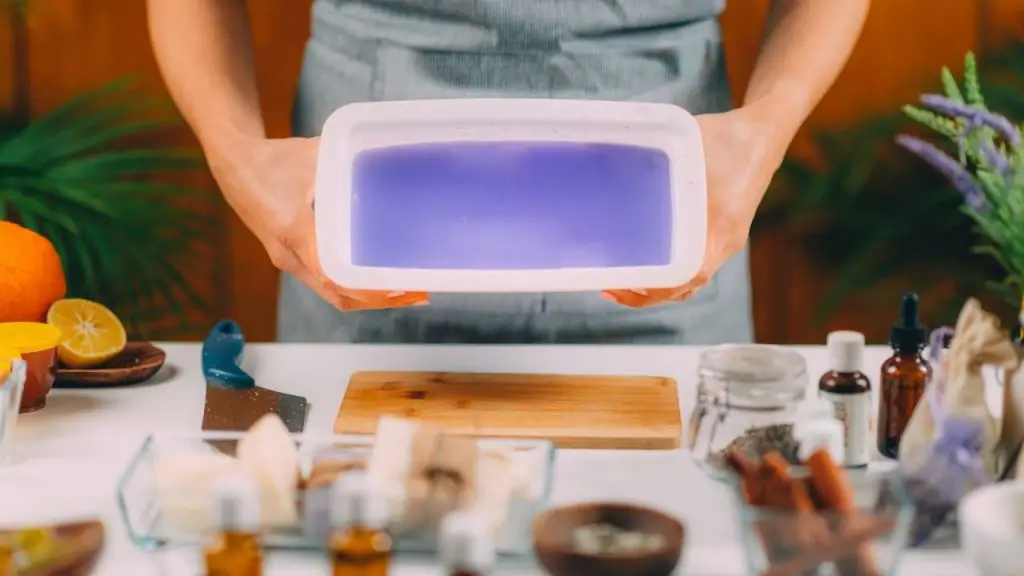
Line the inside of the molds with parchment paper or wax paper to make the soap easy to remove. Pour the soap into the mold and smoothen the top. Cover it with a towel to keep moisture.
This is necessary to make the soap soft and to prevent cracking. Let it cool for 24 hours before removing the soap from the mold.

Drying the Soap
Move the soap to a drying place and let it stay there for another seven days at room temperature. Wrap and store your soap for future use.
Troubleshooting If Your Soap Doesn’t Work
Sometimes your soap won’t turn out as described in this article. There are common problems that you might experience in making soap at home, and they include the following:
Soap Doesn’t Thicken
This happens when you do not have enough fat in the mixture. Continue heating it for a few minutes and turn off the heat. Add about 10% more of the fat and stir the mixture for another ten minutes.
Soap Is Greasy
Warm the soap to liquefy the grease. If it is already warm, continue to heat it and add 5% more of lye water. Continue stirring for ten minutes.
The grease should disappear. This tells you how important it is to accurately measure the ingredients.
Soap Doesn’t Make Suds
This problem is caused by an improper ratio of fat and lye water when making soap. More fat in the mixture will not saponify, which prevents lathering, or the formation of studs.
An improper stirring of the soap paste can also create the same problem. So, keep these in mind next time when making soap at home.
Tips For Your Soap
- If your finished soap does not work as per your expectations the first time you use it, dip it in water and let it dry many times for it to adjust.
- Mixing lye concentrate and fat in an appropriate ratio will ensure the success of your soap-making process.
- Soap can become brittle or even crack if it cools too fast. That is why you need to cover it with a towel when poured into the molds.
- Dry your soap in a warm and dry room where it won’t be disturbed.
Packaging & Storing the Soap
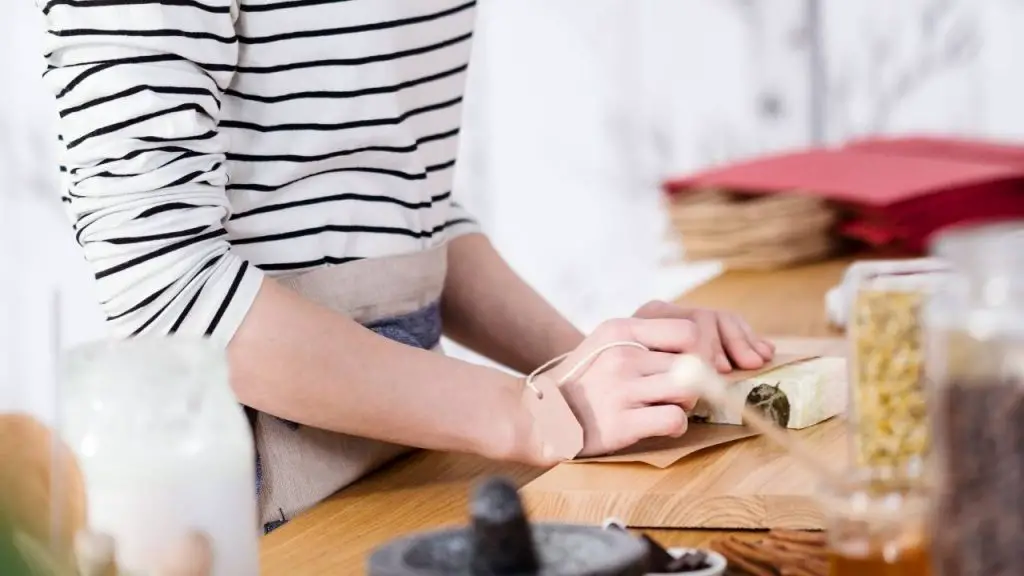
Soaps are packaged in airtight plastic bags or containers. This is necessary to preserve moisture in it that can escape to the atmosphere leaving the soap dry.
Ensure you use containers that are closed tightly or plastic bags tightly sealed and store your soap in a dry place at room temperature.
Fun Facts
A Pennsylvania Dutch recipe once carefully warned that a sassafras stick was the only kind of implement suitable for stirring the mixture of fat and lye. The stirring must be done always in the same direction.
Conclusion
Above are just the basic steps to make regular soap. You can be more creative and make your own unique soaps. As always, thank you for stopping by to read our soap-making article.
We hope the information provided here will help you create quality soaps from fat and wood ashes at home.