Did you know you can make leather from animal skills just like your forefathers did? Natural hide tanning solution recipes exist that will help you change the protein structure in the rawhide to make leather.
The tanning process is not complex. You can make high-quality leather for various uses with the right solution and procedure. But the time it takes to tan leather depends on the method used.
We will describe natural ways of tanning rawhide at home to form leather, including their pros and cons. Read on for details!
Contents
What Is Hide Tanning?
Tanning is the process of making leather from animal skin. It is important to note that not every animal’s skin can be tanned into leather. This process involves altering the protein structure in hides or skins to make them durable and indecomposable.

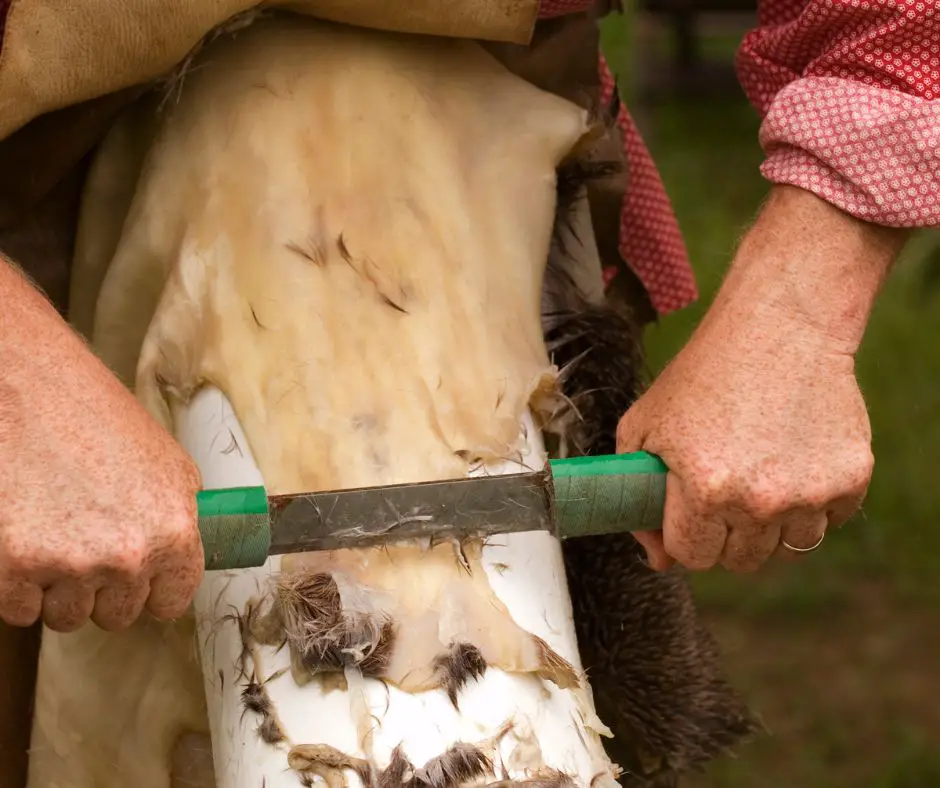
Tanning processes vary, but the methods follow the same principles. The rawhide from the slaughtered animals arrives at the tannery. From there, excess flesh and fur from the skin are removed to prepare the hide for the tanning process.
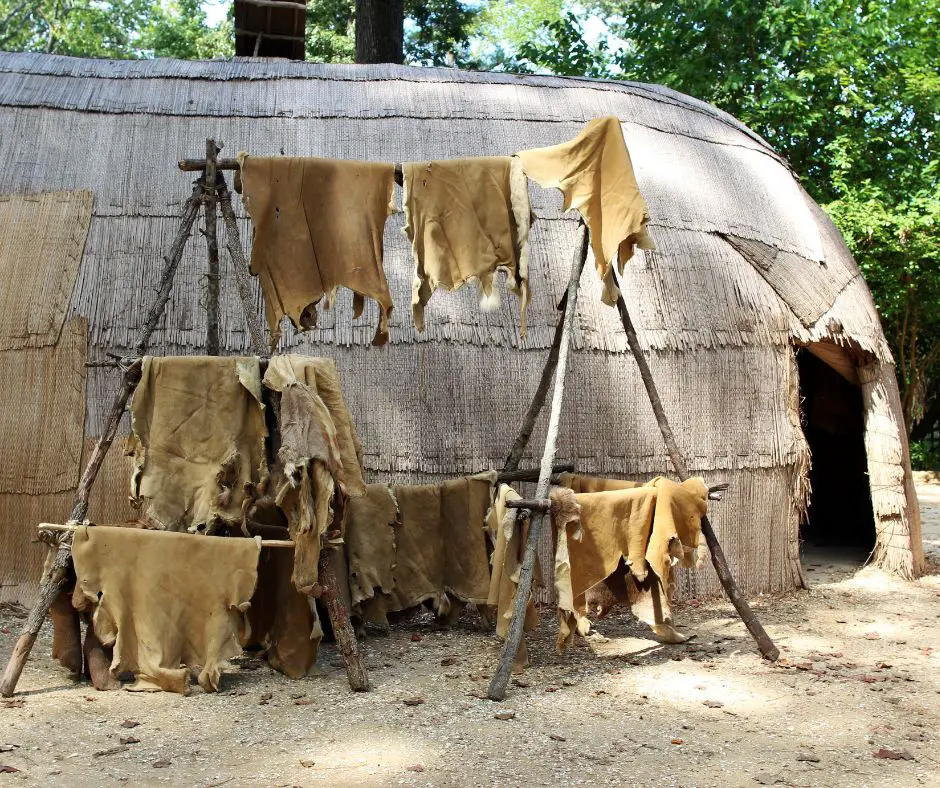
Tanning is centuries old. The modern people have only made it easier and more effective compared to how ancient people did it.
9 Natural Hide Tanning Solution Recipes
The recipe for hide tanning varies depending on the items available. It can be a challenging process at home. But if you are up to the task, you can handle it.
Factories use chemicals to make the process faster and better. But you can do the same at home using natural hide tanning methods.
The goal of hide tanning is to alter the protein structure of the skin, and you can do that using the following recipes to tan hide or skin at home:
- Brain tanning
- Bark tanning
- Mayonnaise and raw eggs
- Egg yolk tanning
- Alcohol and turpentine tanning
- Distilled white vinegar tanning
- Salt (washing soda) and alum tanning
- Soap tanning
- Lard and flour tanning
Let’s get into the details of each. But before that, remember to adjust the solutions used according to the size of the skin.
Brain Tanning
Brain tanning is the most common method and has existed for years. As the name suggests, it involves using the animal’s brain to change the protein structure of the skin. Brains have lecithin that serves the purpose.

Brain tanning can be achieved in two ways: brain mash and brain daiquiri recipes. Let’s get deeper into each method.
Brain Mash Recipe
The hide tanning process does not change. All the 10 steps on how to make a brain tanning are still unchanged, but only the solution used is changed. In this case, we will make a brain mash, what some people call a brain soup for tanning hide and skin.
Making a brain mash for tanning leather is a straightforward process. Mix 4 parts of water with 2 parts of the brain extracted from the slaughtered animal.
You should be cautious when handling brain tissue. That is to minimize Chronic Wasting Disease (CWD) risk. So, ensure you wear gloves during the entire brain extraction and tanning process.
There is no proof that CWD can be transmitted to humans, but the Center for Disease Control (CDC) warns people about it. So, don’t take your chances.
Back to the topic, soak the hide in the brain mash formed. This process is repeated 5-6 times with a fresh brain mash and wringing each time before you let your tanned leather dry. The rawhide should remain in the brain for at least 6 hours or just leave it overnight before changing the brain mash.
Brain Daiquiri Recipe
Brain daiquiri is a brain paste. It is thicker than the brain wash method and makes it even easier. You can complete the process in a few seconds with a food processor.
You require 0.5 parts of water in two parts of the brain. Use a food processor to mix the two into a uniform paste.
Smear the brain daiquiri on the hide to completely cover it. Once done, roll the rawhide and let it stay overnight. Unroll it the next day and remove the brain paste to apply the new one. Repeat this process 5-6 times to ensure the hide is completely tanned.
Brain tanning is very natural and free. However, it is labor intensive and more challenging than alternative methods. The process can also produce a strange odor if not done correctly.
Bark Tanning
This hide tanning method involves using tree barks. The most commonly used trees are the mimosa, quebracho, oak, and chestnut. The first two tree barks are rich in catechol, a type of tannin that gives the hide its characteristic appearance. It makes the tanned leather pink, red, dark brown, and other shades.
Oak and chestnut barks contain pyrogallol, which make your leather yellow, light brown, or cream. They also improve water resistance and resistance to wear and tear of the final product. Most leather for making soles and upholstery is tanned using this approach for durability.
What do you need for the bark tanning recipe?
- A 30-gallon bucket
- 30-40 pounds of tree bark (preferably harvested in spring)
- 20 gallons of boiling water (clean, freshwater preferred).
Eagle 30 Gallon High Density Polyethylene Lab Pack Barrel Drum
- Designed for Regulatory Compliance - A plastic drum can help you meet regulations for the storage, transportation, and disposal of hazardous materials by selecting the lid based on the requirements for the material being handled
- Durable Construction - Made of blow-molded high-density polyethylene, this plastic barrel is durable, lightweight, and stands up to chemicals and weather, making it a great option for various storage needs
- High-Quality Material - This plastic barrel with lid is ideal for use with small undamaged bottles, cans, carboys, and 5-gallon pails of non-leaking hazardous materials, but not for use with free liquids
Grind the harvested tree barks and pour them into the boiling water. Leave the solution for about 15-20 days to allow tannins to dissolve in the water to form a more concentrated solution.
Bark tanning is not as straightforward as brain tanning. Follow these steps to tan your hide with the formed bark tanning solution:
- Collect 5 gallons of concentrated bark tanning solution and dilute it to 15 gallons using clean water.
- Submerge the hide in the diluted solution and Stir every 10 minutes for the next hour. Leave it to settle for one week.
- Drain the first 5 gallons of diluted solution and top it up with 5 gallons of concentrated solution. Once again, stir and let it sit for another week.
- Repeat the previous step and let the setup sit for another week.
- Check if your hide is completely tanned by the end of the third week. Cut a piece from the edge of the skin. The white color in the middle shows the process is not complete. So, repeat the previous step a few times.
- Remove the hide from the solution and rinse it in cold water for about two hours.
- Wring the water from the tanned hide and apply a tanning oil such as mink oil.
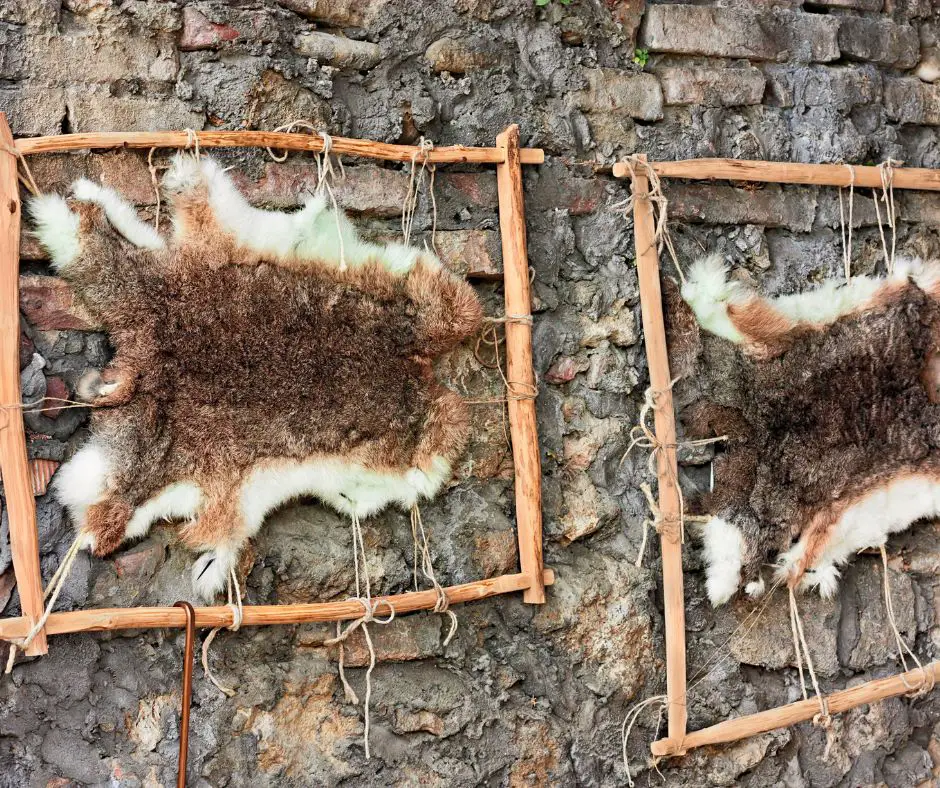
- Hang the tanned hide in an open space to dry.
Bark tanning is also natural and flexible but takes a lot of time. You have to wait a month before the leather is ready for use. The process can also be complex for a beginner. As a result, you may consider alternative methods.
Double Handle Cheese Knife ~ 15 Inch Blade
- Double Handle Cheese Knife
- 2 Black Plastic Handles, 5"
- Heavy Duty
Mayonnaise And Raw Eggs
In this method, you only need mayonnaise and eggs. It is all-natural and takes the shortest time. Even beginners can be successful with it!
Mix mayonnaise and eggs to form your tanning solution. Spread the mixt on the hide. Cover it with a damp cloth and leave it for at least 24 hours. You may need to let it sit for more time if tanning a thick hide.
Rinse away the mix and dry your tanned hide.
Using raw egg is straightforward, but the end product is not as strong as hide tanned using other methods. It can be easily damaged and can revert to rawhide if it gets into contact with moisture.
Egg Yolk Tanning
Egg yolk tanning is also a straightforward process with nothing much involved. You can choose to use chicken, turkey, duck, or geese eggs, whichever is readily available. But how do you tan a hide with raw eggs?
- Extract the egg yolks and mix them with water. Every egg yolk requires 1-2 teaspoonfuls of water, but bigger ones may require more water.
- Mixt the yolk and water to form a tanning solution. Use a brush or sponge to spread it on your hide and cover with a damp sheet (natural fibers or towel preferred).
- Leave the hide for about 24-49 hours. The duration depends on the thickness of the rawhide. After the wait time elapses, rinse away the egg yolk from the hide with lukewarm water. Hang the tanned leather to dry.
Egg yolk tanning is non-toxic, easy, and leads to the formation of beautiful white leather. However, the finished product is not durable. The leather can be easily damaged by beetles and other pests. Also, the leather can turn back to rawhide if it gets into contact with moisture or water.
Alcohol And Turpentine Tanning
Alcohol and turpentine tanning is a simple method but not very popular. It is best for small fur skin, but how do you do it?
Mix 50% ethanol and 50% turpentine to form a tanning solution. Follow all the steps of brain tanning. But in this case, you will substitute brain mash with the just-formed solution.
Since this approach is rarely used, nothing much is known about it. Further research may be necessary to reveal its pros and cons. However, many believe the process can lead to dry leather with a turpentine or alcohol smell.
Anchor Hocking 2.5 Gallon Montana Glass Jar with Lid
- INCLUDES: This Anchor Hocking glass jar set contains (1) 2.5-gallon glass jar with (1) black metal lid. Has oversized knob on lid for easy gripping, an all-clear glass bottom, and substantial weight to stay sturdy on the counter.
- USE: These glass jars are perfect to store and display foods in pantries and on counters. Ideal for all manner of dry goods including flour, cookies, rice, coffee, spices, candy, and much more. Silicone gasket mechanism seals lid cleanly onto glass bottom to keep air out and freshness in.
- DURABLE: These glass jars with matching lids are wide mouthed and thick walled to ease scooping, prevent spillage, and protect what you buy. When you're finished, slide them right in the dishwasher for easy clean-up.
Distilled White Vinegar Tanning
It takes just a few steps to tan rawhide with a vinegar solution. All you need is a gallon of vinegar diluted with 5 gallons of clean water.
Soak the hide in the formed solution, leave for three days and rinse with cold water. Repeat this step three more times to ensure complete tanning.
The leather formed through this process is stiff. So, apply mink oil and rub it with your hands on the leather until it softens.
This method is easy and all-natural. However, the leather formed this way is often stiff and can be easily damaged by beetles and other pests.
Woeber’s 5 Percent White Distilled Vinegar 1 Gallon
Salt (Washing Soda) And Alum Tanning
This is another easy-to-make tanning solution. You need the following:
- 2.5 pounds of table salt
- 1 pound of ammonium alum
- 5 gallons of water
- Plastic container
Prepare your tanning solution as follows:
- Warm 4 gallons of water and dissolve the salt in it.
- Use the remaining gallon of water to dissolve ammonium aluminum.
- Mix the two solutions to form a tanning solution.
- Soak the hide in the solution for 4 days for the tanning process to complete. Once done, remove it and rinse clean with water.
- Dry the tanned hide.
Salt tanning is easy and forms soft furs and leather. However, the ammonium alum solution can irritate the skin. You should be cautious when carrying out the entire process.
Soap Tanning
You can use a homemade soap or buy a castile soap from a store, but any other soap can do. That means this method can either be natural or chemical-based.
Use the following steps for tanning rawhide with soap:
- Dissolve soap in water. You can grate it like cheese to make it dissolve faster in water.
- Add an equal amount of mink oil, macadamia nut oil, or sea buckthorn oil and mix. They contain palmitoleic acid.
- Spread the formed solution on the hide and roll it. Leave it for 48 hours
- Wash and rinse the tanned rawhide with warm water and let dry.
Soap tanning is easy, but it involves chemicals that some people may not like working with. Even homemade soap is not all that natural!
Kirk’s Original Coco Castile Bar Soap Fragrance Free 4 Ounces (8 Pack)
- No Animal By-Products
- Never Tested on Animals
- Hypoallergenic
Lard and Flour Tanning
Lard and flour tanning is another simple method for tanning hide into leather. The information about it is limited, but we will describe it as best as possible.
- Rub the hide with a layer of lard and cover it with another layer of flour.
- Roll up the hide and let the blood drain out of it.
- Dry the tanned hide and use mink oil to rub on it to make it soft.
The lard and flour tanning method is non-toxic and forms beautiful white leather. However, the end product is not as durable as the one using other methods. The tanned hide can be easily damaged by pests.
That is the end of 9 natural ways of hide tanning. Remember you need to remove excess flesh and fur from the hide before you use any of the methods described above.

Conclusion
You can tan hide at home using the natural means described in this article. The formed leather can be used for making clothes, wallets, belts, and other creations.
However, you should follow the correct steps to get the best results. If anything goes wrong, the tanned hide can stiffen, become weak, or become susceptible to pests.
We thank you for your time reading this article at Em Offgrid. Let us know which of the natural hide tanning methods described here you want to try or have successfully used to make leather. Also, kindly share the article with your friends.


