Do you want to farm pumpkins for profit or survival? Regardless, knowing how to grow a pumpkin patch is must-have knowledge for all off-gridders.
Pumpkins are on-demand fruits that can turn your backyard garden into an income source.
They are used for carving and decorations during the Halloween holidays, but the demands remain steadily high any other time. Many people use them in different recipes. However, the supply is low.
Read on to learn how to grow a pumpkin patch to earn money from direct sales to agritourism or sell to a food market.
Contents
Why Is a Pumpkin Patch and Its Profits?
Farm tourism is a multi-million-dollar industry in the US, which keeps demands for pumpkin high. There are pumpkin farms in some parts of the country, but most pumpkin patches range from 2 to 40 acres. These are large enough to generate about $12k to $240k in net profit per year.
However, the profit significantly varies with location, pumpkin variety, and the farmer’s input in growing pumpkins. The bigger the pumpkin patch is, the more you can expect in profit.
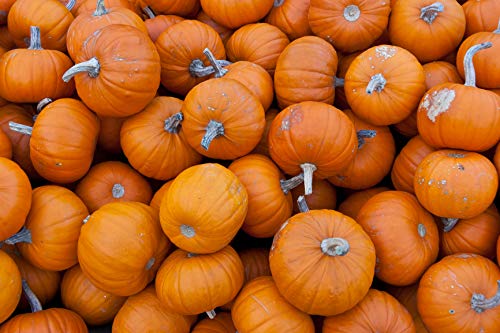
The traditional jack-o’-lanterns variety is the most popular, especially during Halloween, as the demand rises. However, it is not what you should grow for early season harvests. At that time, customers want more decorative pumpkin varieties such as Cinderella or the warty Marina di Chioggia.
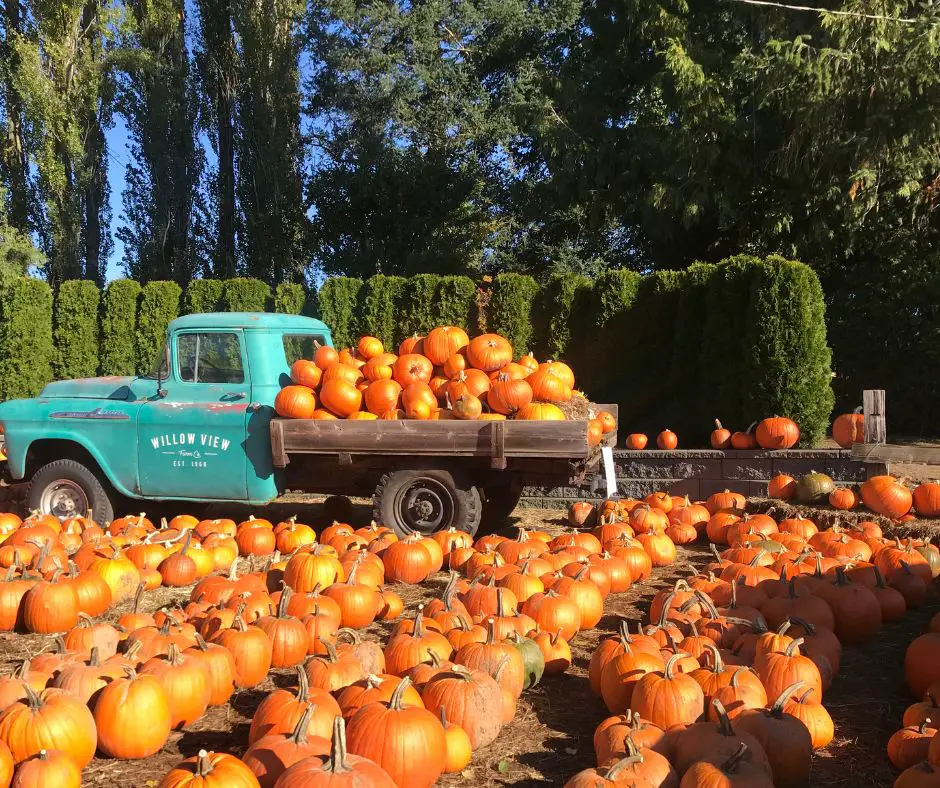
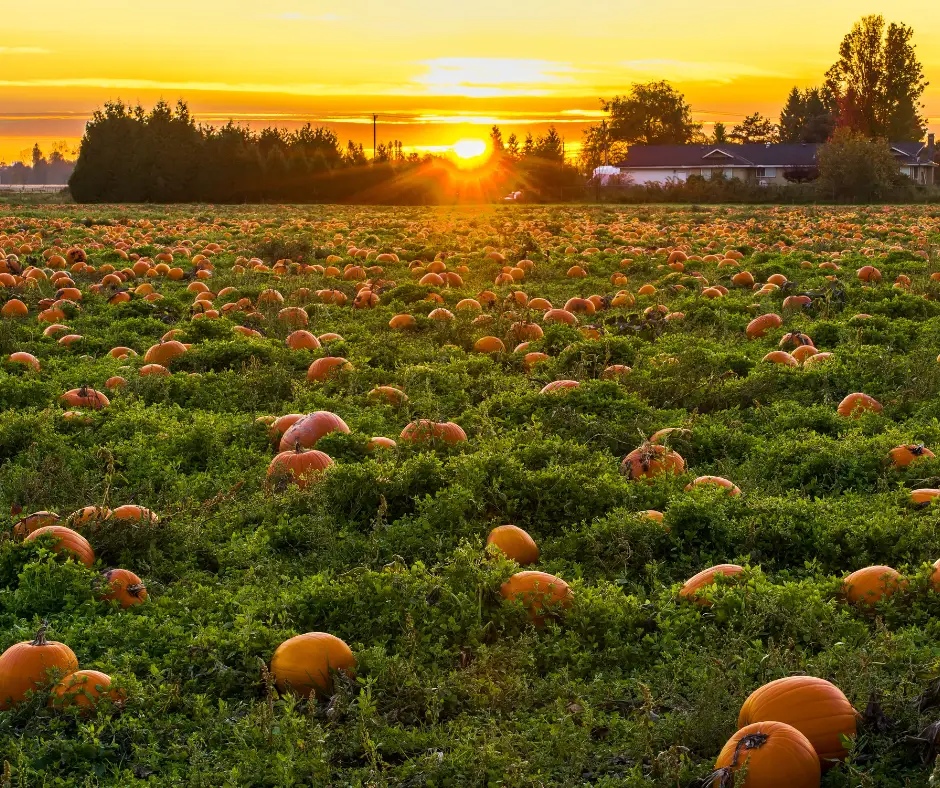
Thousands of acres of pumpkin patches open from late September to late October. You will see the fields beautifully decorated with orange gourds that everyone is yearning to get hold of.
Pumpkins are in high demand during the Halloween season. That is the time people choose them for decorations because they are easy to carve into spooky jack-o-lanterns. People also don’t seem to get enough pumpkin-flavored foods.

Pumpkin farming is profitable though farmers face the seasonality challenge. After a successful growing period, the harvested pumpkin is sold directly to agritourists who visit the pumpkin patches and the surplus wholesale to grocery chains in urban areas.
Agritourism benefits communities by connecting consumers directly with agriculture. It also helps to preserve agricultural lands in rural and semi-urban areas.
How to Grow a Pumpkin Patch
Are you looking for a new way to add extra income to your small farm? Growing a pumpkin patch may be your solution. The entire farming process starts with pumpkin variety selection and ends with harvesting and storage.
Creating a pumpkin patch is a straightforward process though it has its challenges. Fortunately, you can overcome them if you give it your best. It involves the following steps:
- First things first: choosing which varieties you’ll grow
- Plan your land: where your patch will be
- Determine when to plant
- How to plant a pumpkin
Let’s dive into the details of each of the above steps to reveal what you need to do for a successful pumpkin patch.
First Things First: Choosing Which Varieties You’ll Grow
Your success and the profits you get from your pumpkin patch begin with the variety selection. This depends on the climate and season. You can choose decorative pumpkins and time Halloween season or other varieties for general use.
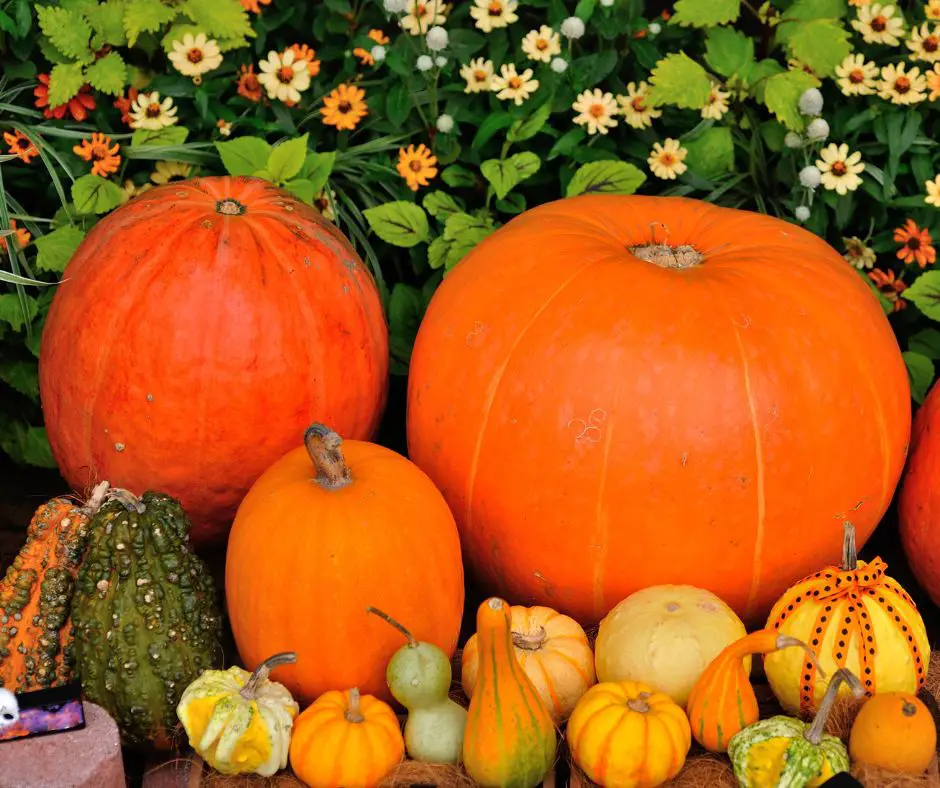
Pumpkins range from ballooning giants to tiny-tiny gourds. The good news is that there is one for every climate and purpose. The following are some of the most recommended pumpkin varieties to consider:
Miniature Pumpkins
This category consists of pumpkin varieties that are easy to grow and produce high yields. Some can give you a dozen fruits per plant.
Under miniature pumpkins, you can consider Jack Be Little or We-B-Little. These dual-purpose pumpkins can be food or decorative elements on a holiday table.
Wee-B-Little – Pumpkin Seeds
- 1 Package = 2 g Of Seeds
- Package contains approximately 20 Wee-B-Little Pumpkin Seeds
- True miniature orange pumpkin.
Pumpkins for Carving
Pumpkins for carving are in high demand during Halloween for making Jack-o-Lanterns. Choose varieties such as Autumn Gold, Magic Lantern, or Merlin. These are great for carving and decoration, which drives demand during holiday seasons.

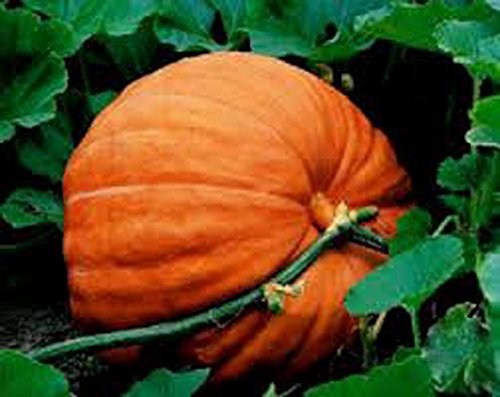
Giant Pumpkins
As the name suggests, giant pumpkins can weigh up to 200 pounds. These are great for those targeting the food market, though some are also ideal for carving. Consider varieties such as Dill’s Atlantic Giant, Big Max, Big Moon, Jack O’ Lantern, or Funny Face.
Pumpkin, Big Max Pumpkin Seeds, Heirloom, Non GMO,20 Seeds
- Huge pumpkins up to 70" around often weigh 100 lb.
- Delicious for pies.
- With Big Max you will carve the biggest pumpkins on the block.
Pumpkin for pies
Some pumpkin varieties are ideal for cooking and baking, while others are great for soups and pies. They are all characterized by sweet flesh. The pumpkin varieties for pies include Sugar Treat, Hijinks, Baby Bear, Cinderella’s Carriage, and Peanut Pumpkin.
TomorrowSeeds – Cinderella Pumpkin Seeds – 60+ Count Packet
Plan Your Land: Where Your Patch Will Be
Pumpkins do not just grow anywhere. If your property is shaded or your seedbed is blocked by a tall barn, pumpkins may not be for you. The vines need long days of sun. So, set aside a section of your land that receives sunlight throughout the day.
Pumpkins like the sun but are not tolerant to extreme conditions such as excess heat or heavy rains. You should prepare for the worst just in case the weather becomes unbearable for that reason. Device ways of protecting your pumpkin vines.
You can use tents or tarps to shield them from excess heat during summer or heavy rains. Storms are also not their friends.
Lastly, pumpkins perform their best in USDA Hardiness Zones 3-9. They require sandy loam soil that is well drained with a neutral pH or slightly acidic. The suitable pH for pumpkin growing is about 7-6. So, testing your soil can be a good idea.
Determine When to Plant
Planting time is one of the crucial factors for any crop, and pumpkins are no different. The best time to plant pumpkins is during warm days. Think of creating your mounds after the dangers of frosts are no more and the soil is already heated.
The best time to start sowing the seeds is between late April and early May. If this time still finds your region covered in frost, consider starting the seeds indoors.
How to Plant a Pumpkin
Plant your pumpkin seeds directly into the soil if the soil temperature is about 70 degrees Fahrenheit. Starting the seeds indoors is not the best approach to growing pumpkin patches. But it may be preferred if there is still frost in your area by early May. That is the time when the sowing period is coming to an end.
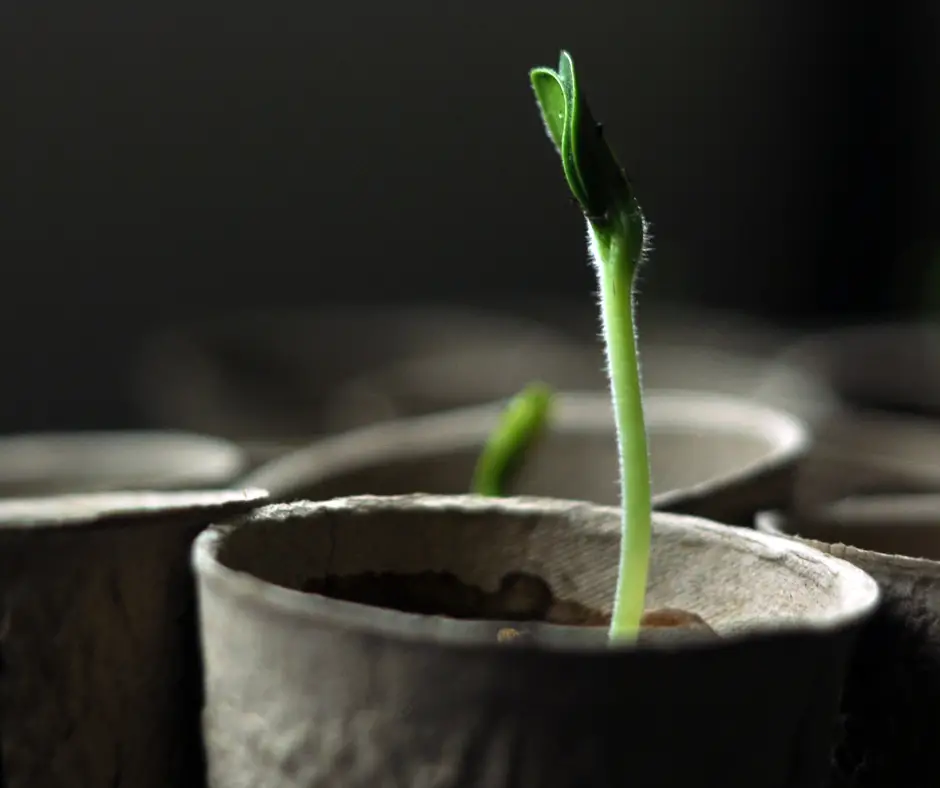
Starting Pumpkins Indoors
If you start your seeds indoors, consider doing it at least 2 weeks before transplanting the seedlings to the seedbed. Use 3-inch pots and sow flat seeds on their sides about half an inch deep. Maintain the temperature at about 65-70 degrees Fahrenheit until they sprout.
You know that they are ready for transplanting if they have about 4-5 leaves. Remember to keep them hydrated all time since they like water.
10 Pack Thickened 72 Cells Seedling Trays- BPA Free Plastic Gardening
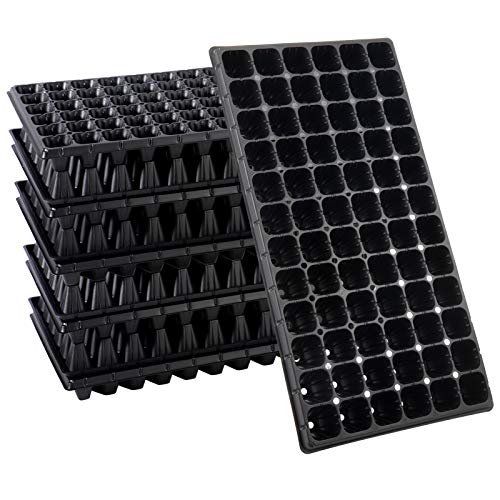
- [High Growth Efficiency Design] Our seed starter tray provides independent growth space for each plant, which can help each plant obtain water and other nutrients better, preventing roots from entanglement. Besides, the tilting design of the cell wall together with the drain hole at the bottom is beneficial for draining, preventing root damage caused by over-watering.
- [High Growth Efficiency Design] Our seed starter tray provides independent growth space for each plant, which can help each plant obtain water and other nutrients better, preventing roots from entanglement. Besides, the tilting design of the cell wall together with the drain hole at the bottom is beneficial for draining, preventing root damage caused by over-watering.AP8
- [BPA Free Material] The material of our seed starter tray is super thickened plastic BPA free, which is durable. Due to the high-quality material, you can feel free to apply our product for starting your lovely plants without any burden and keep them available for years.
Sowing Directly In The Seedbed
Sowing seeds directly in the seedbed is straightforward but different from indoors. Here, you will create planting hills. Dig a 3-foot circle that is only 12 inches deep.
Loosen the soil, and remove rocks and large gravels. The last preparation step is to mix the soil with fertilizer, preferably cow manure. That does not alter the soil pH.
Mound up the prepared soil at the center of the pit to form a hill and plant 4 seeds on the hill, spaced about 10 inches apart and 1-inch deep. These will be thinned later after they sprout and show good health to maintain enough space.
But if transplanting, plant one seedling per hill mound formed. These mounds should also be 5-20 feet apart. Pumpkins need a lot of space for vines to spread.
How to Care for a Pumpkin Patch
Pumpkin seeds are very vulnerable. They are affected by not only the weather but also pests and diseases. So, you need to care for them till maturity.
At this point, we assume that your pumpkin seedlings are already growing and healthy. Most of them should now have 5 or more leaves after transplanting if you started indoors. So, you need to carry out the following to keep them healthy for maximum yield:
Keeping Pumpkin Patch Hydrated
As already mentioned, pumpkins need a lot of water to grow. You can supplement that with watering and soil moisture conservation methods if your region receives intermittent rainfall. Provide about 1 inches of water a week to the soil if there is no rainfall.
You can’t give pumpkins too much water, dampness invites rot and disease. It’s important that you wet them deeply in the morning or very afternoons on hot days when they’re fruiting.
Irrigation is crucial if you grow pumpkin patches on a large scale. Consider drip irrigation, micro irrigation, or a sprinkler method to keep your pumpkins hydrated if you live in an area that receives less than recommended rainfall.
Teknor Apex Apex, 1030-100, Soil Soaker Hose, 100-Feet – 1115920
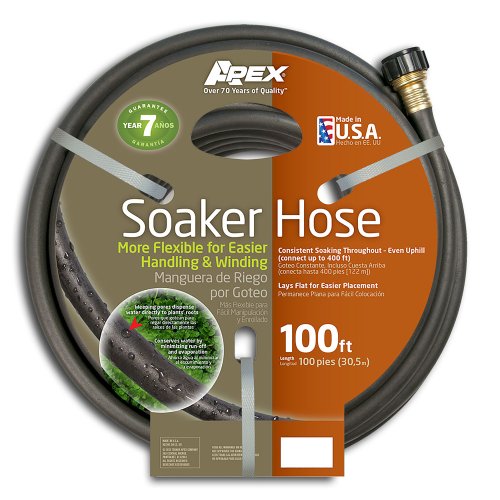
- Right to the Root!
- Up to 30% water savings
- Weeping pores allows for even soaking directly to roots
Consider mulching the seedbed to keep the soil moist. Spread grass clippings or straw, stacked about 2 inches thick, to do the trick. That will save you from daily irrigation even when rainfall is scarce. You can also use black plastic sheets to mulch the hills.
Regardless of the mulch type, wait until the soil becomes warm to about 75 degrees Fahrenheit. Also, ensure it is about 3-4 inches from the pumpkin stems. Mulching serves three purposes: retain soil moisture, smother weeds, and retain warmth.
Weed Guard Paper Mulch Roll, 36-inches (W) X 50-feet (L)
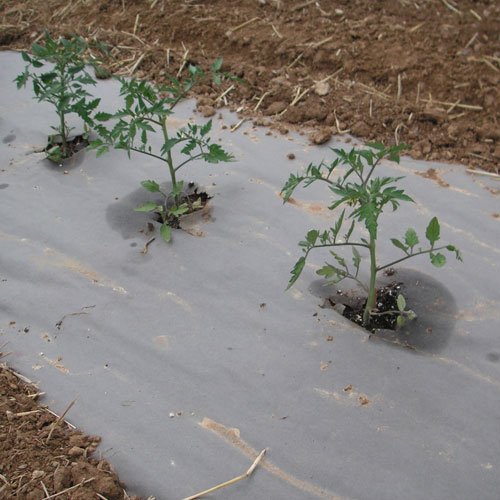
- A perfect, natural way to blocks weeds, reduce erosion, and help keep the soil warm
- Lasts for a full growing season and gradually decomposes
- Made of Natural Cellulose Fiber that allows air and water to pass through - No Plastic
Control Weeds With Mulch Instead of Using Pesticides
Like all other crops, you need to keep your pumpkin patches weed-free. Look out for parasitic weeds that can directly affect your pumpkins and remove competition for soil nutrients and moisture through regular weeding.
NuPlay Rubber Mulch Landscaping Bark
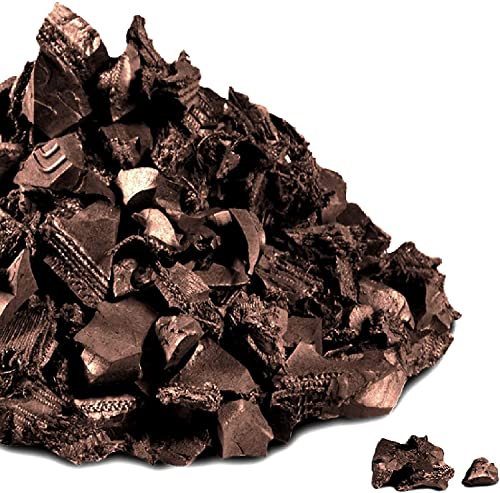
- LONG LASTING - 12 year color guarantee against color loss. color will not rub off. the weight of these rubber nuggets allows them to stay in the landscaped area and will not be blown around by winds or leaf blowers. no need to replace annually like wood chip mulch. these are nugget shaped not wood chips design.
- CERTIFIED - 99.9% wire-free recycled rubber and ASTM F3012 tested. Rubber mulch is impervious to both cold and heat. Rubber mulch is non-flammable.
- TESTED & PROVE & INEXPENSIVE- the gold standard in recycled rubber mulch. rubber nuggets. this realistically-textured groundcover is made from 100% recycled rubber. our premium nuggets rubber mulch will not fade, rot, compress or lose its original beauty even after years of exposure to the elements. these do cost much more than wood chips but think of all the time saved since they hold their color for 12 years.
Fertilize The Pumpkins
Side-dress with aged manure or compost mixed water to help pumpkin as it grows.
The first fertilization should be when the seeds sprout. You do that if you never added fertilizer to the soil before sowing seeds. If you did, wait until the vines start forming tendrils
When you first notice hint of new growth ( 1 foot tall), fertilize regularly with a high-nitrogen.
Switch over to apply a phosphorus-rich 5-10-10 fertilizer to each plant after bloom period begins but before fruit set starts (or male flowers open).
If no fruits form even though females did flower – this is normal! Male & female blossoms must both open for fertilization purposes
You also need side dressing with a shovel of compost or one or two cups of emulsion. The latter should be diluted to half strength and applied every two weeks. Watering is recommended after applying the fertilizer to help the nutrients penetrate the soil for absorption.
Jobe’s, 09026, Organic Vegetable, Tomato Granular Fertilizer
Control Insects/Diseases Problems In Pumpkin
Poor performance in pumpkins is due to poor light. Too much fertilizer, poor weather at bloom time, and reduced pollinating insects. These can cause poor fruit formation and excess blossom withering and dropping.
However, pumpkins are also prone to pests and diseases. These are more severe and can significantly reduce the yield or kill the plant if not controlled.
Pumpkins are commonly affected by fungus diseases such as Anthracnose, Blossom-end rot, Downy mildew, Powdery mildew, etc. The most prevalent viral disease in pumpkins is the Mosaic virus.
Observe the signs and symptoms that your pumpkins show and take appropriate action. In most cases, the affected plant is destroyed. Planting more resistant varieties can also help.
Common pets and bugs that attack pumpkins include aphids, cucumber beetles, squash bugs, squash vine borer, and many others.
You can control these using natural ways, such as planting companion plants that repel the bugs or using other animals that feed on them. Removing plant debris and crop rotation can also contain them.
Bonide Chemical Copper 811 4E Fungicide
Tips to Have Bigger Pumpkins
For best results, pinch off any fuzzy ends of vine growth to prevent the formation of new plants. This will focus plant energy on developing fruit rather than lengthy stems which create space and fruit formation!
The best way to ensure a perfect harvest is by removing any interfering fruit or vines. If you want a “prize for size” pumpkin, look at these two or three prime candidates to get started with your selection process, Take all of the other fruit and vines out; this ensures that all attention will go into just one type of pumpkin!
When pumpkins have started to develop, you can prune the main and secondary vines to 10-15 feet. Bury cut tips in soil or lay them flat on top of fallen leaves.
Gently turn the pumpkin as it develops, with great care not to hurt either vine or stem. Slip a thin board under pumpkins so they don’t rot in place on top of soil–and protect them from getting molds while waiting for harvest time!
Harvest and Store Pumpkins
Pumpkins reach maturity after several months of waiting. If you sowed seeds between April and May, expect to bag the fruits in September or October. However, the maturity period significantly varies depending on the variety.
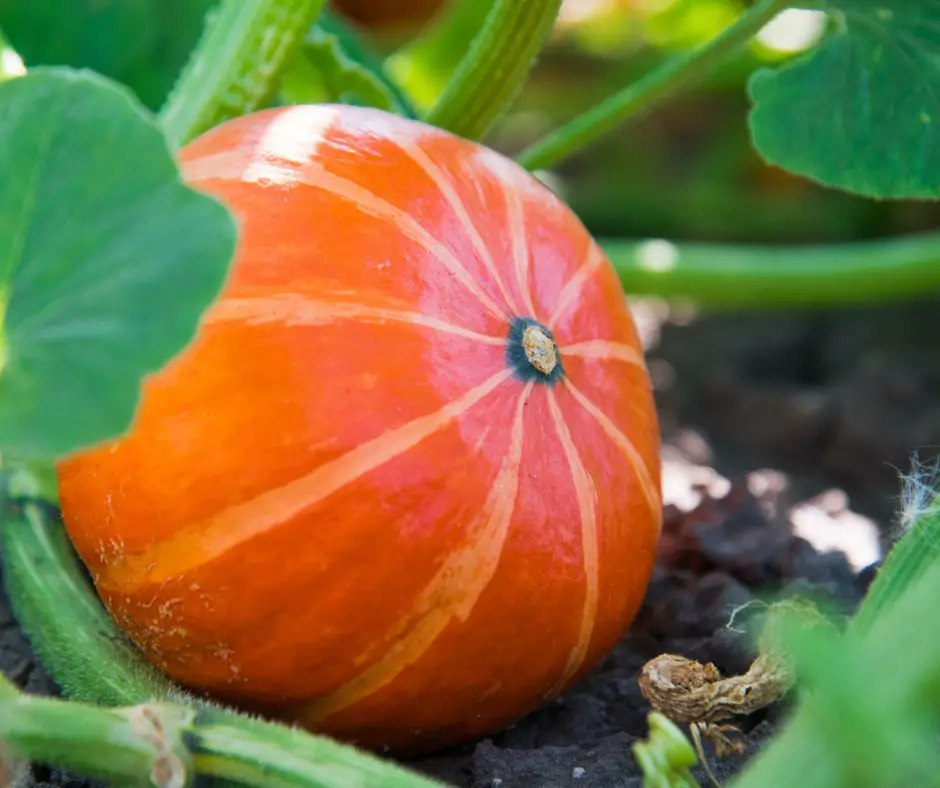
The harvesting time for any pumpkin variety is usually before frost. You know your fruits are ready when the rinds harden and most pumpkin varieties turn deep orange. Knowing what to expect can help determine when your pumpkins are ready for picking.
Harvesting pumpkins is straightforward but can be labor-intensive on a large scale. The process involves cutting the stems at the vine with a sharp knife or a shear. Leave a few inches of the stem on the fruit to form the handle and ensure you make a smooth cut.
Breaking the stem off the fruit will make it rot faster. That’s undesirable if you don’t have a ready market.
Pumpkins last longer in a cool, dry place. Keep them at about 50 degrees Fahrenheit until you find a market. But before storing them, cure them in the sun for about a week, which you can do outdoors or in the greenhouse.
Cured and properly stored pumpkins have a shelf life of about 3-6 months, depending on the variety.
Conclusion
A pumpkin patch can be a reliable source of income if you live off the grid. The fruits are in demand for various purposes. Some are best for cooking recipes, while others are best for carving and decorations
Regardless, a pumpkin patch will help you get extra cash and provide food for your family. Leaves and fruits are all edible and nutritious.
Thank you for reading this article at Em Offgrid. We now hope you are ready to start your own pumpkin patch for profits or survival. Kindly share this article with your friends to pass this information to them and help us reach many people.